
Rust-Oleum Projects
Solar Chandelier
Browse Projects
-
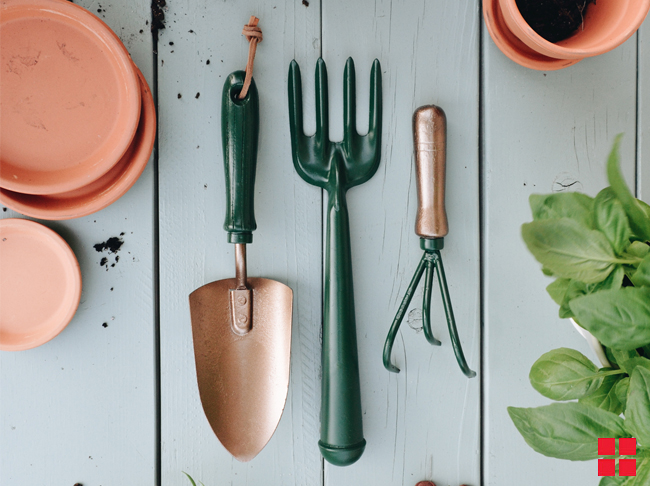
Refresh Rusted Garden Tools
-
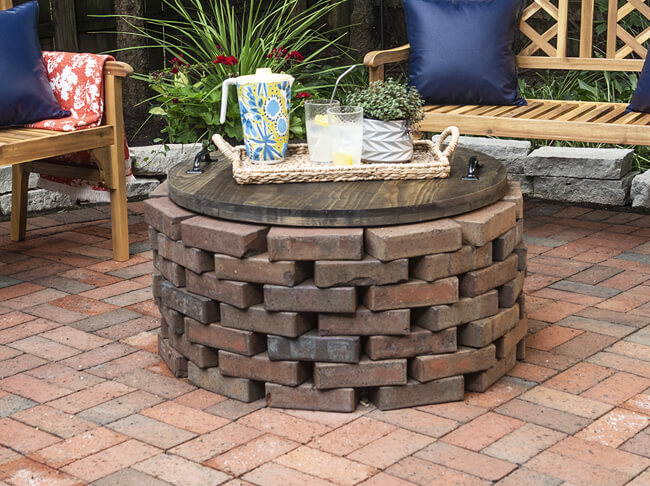
Stained Fire Pit Cover
-
Estimated Time
2 hours plus dry time
-
Challenge Level
Easy
-
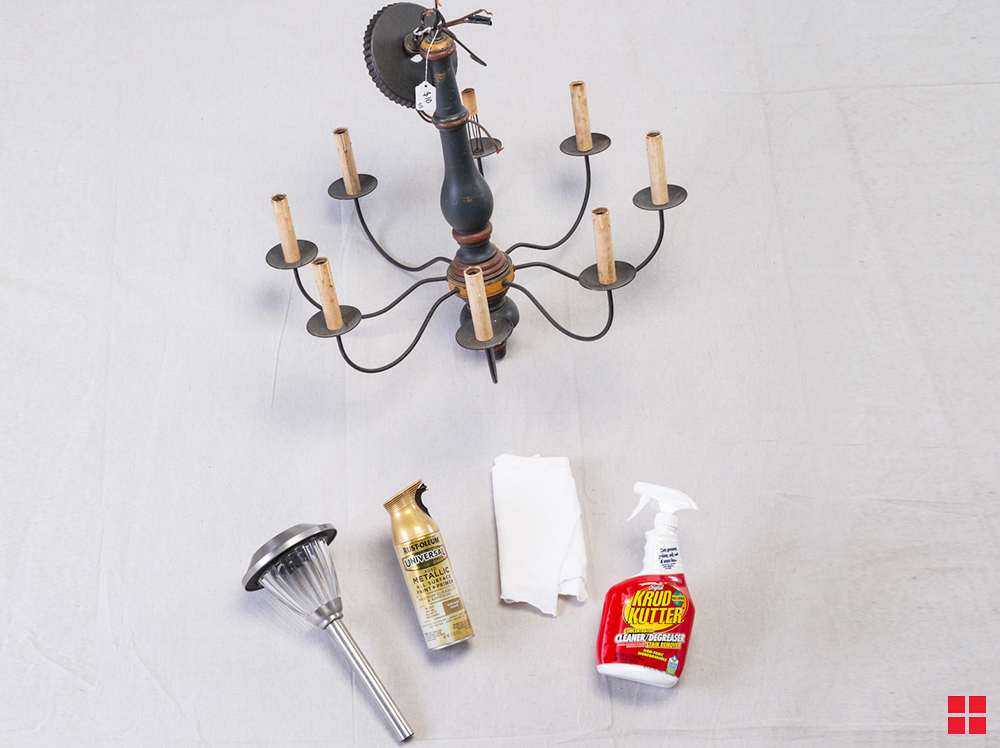
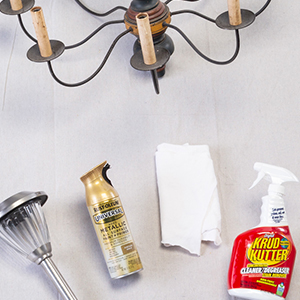
Tools & Supplies:
-
Chandelier
-
Diagonal cutting pliers
-
Rope or shepards hook
-
Painter's Tape (Optional)
-
DAP RapidFuse Glue
-
DAP Plastic Primer
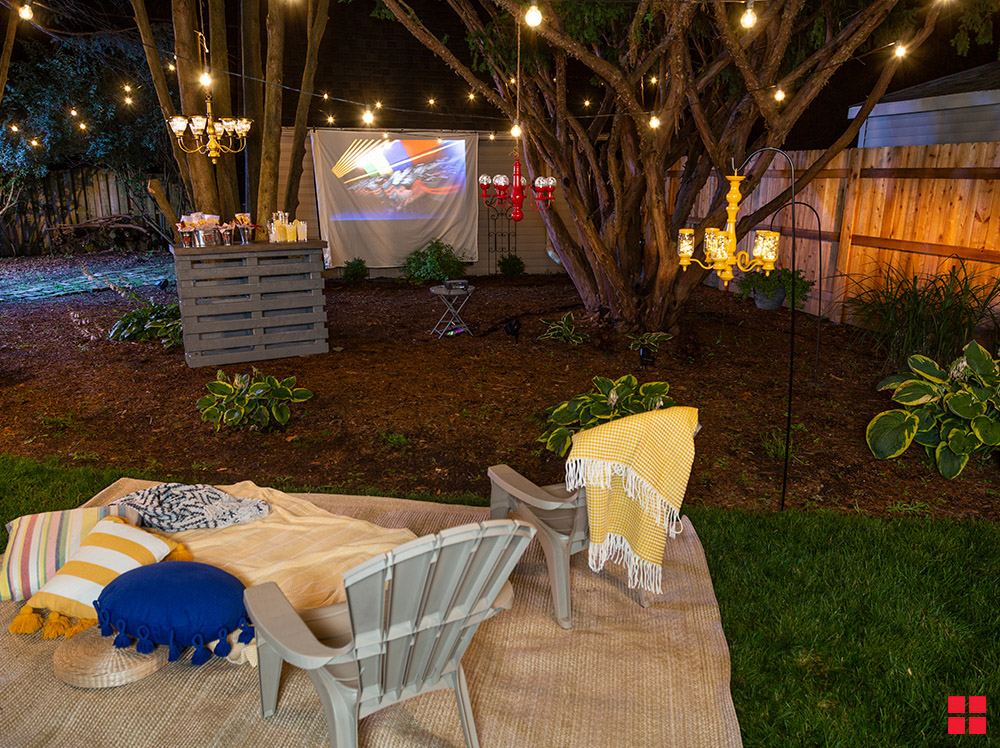
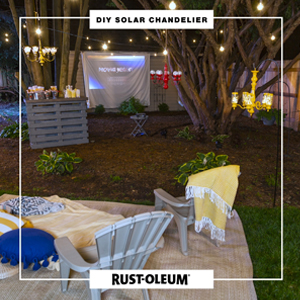
Do you have a dated chandelier leftover from a recent remodel or a garage sale find? Brighten up your patio with this easy solar chandelier DIY project!
- Disconnect chandelier from electricity before removing bulbs and power cord.
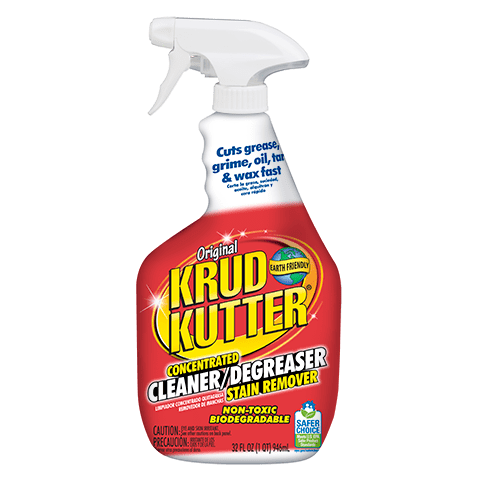
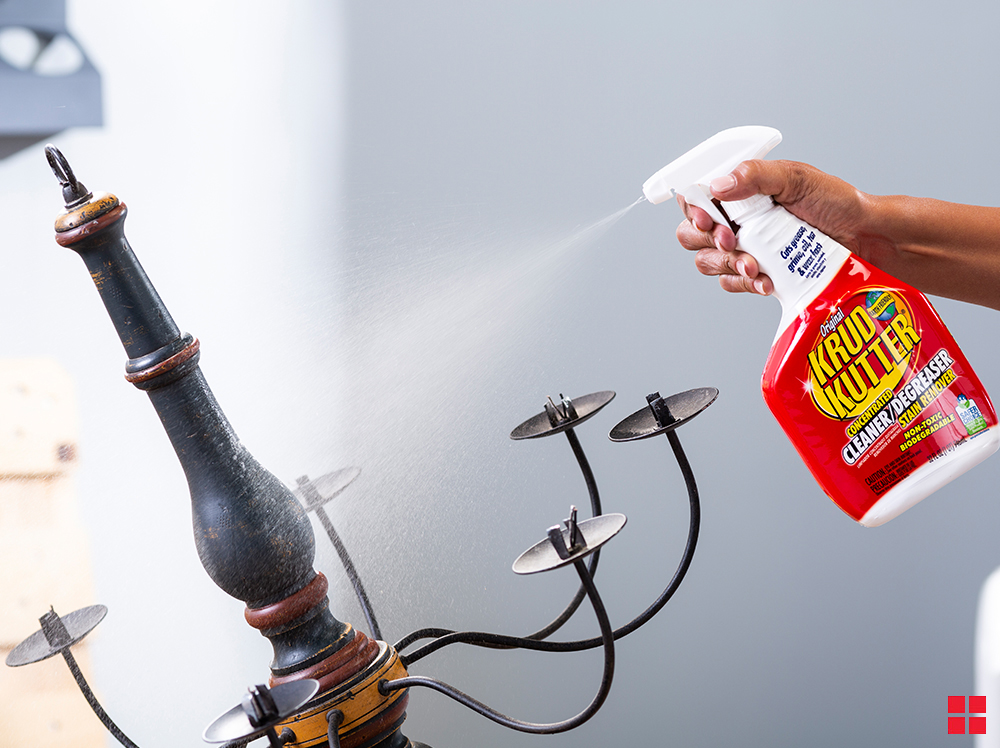
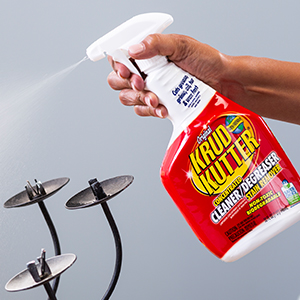
- Make sure chandelier is thoroughly cleaned and dry. We recommend using Krud Kutter Original Cleaner Degreaser to ensure your surface is clean and prepped for painting.
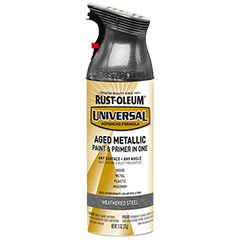
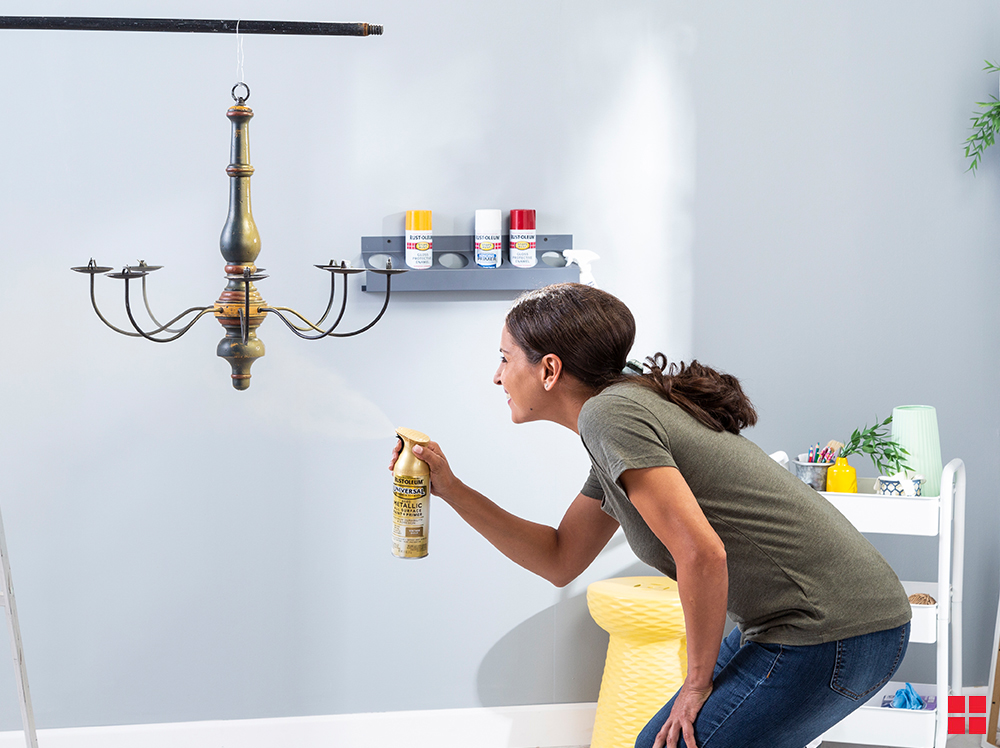
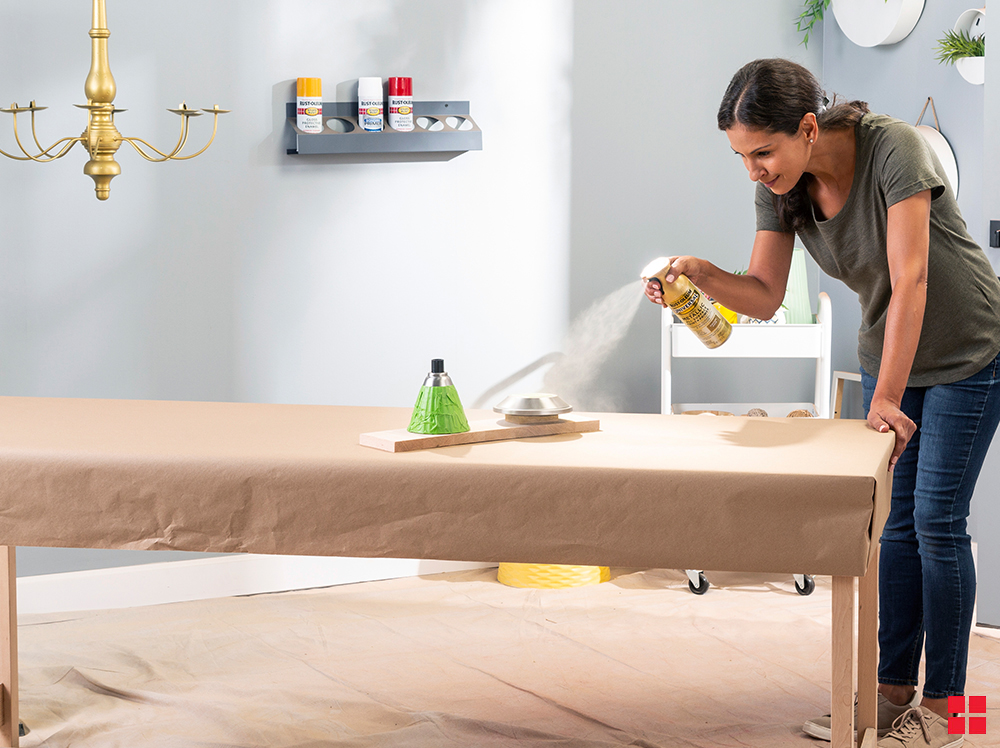
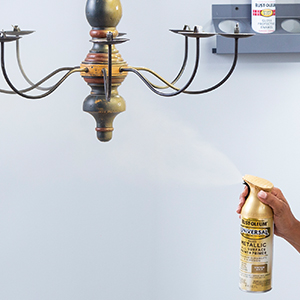
- Suspend chandelier from pole over drop cloth or old sheet. Follow the instructions on the spray paint can. Shake for 60 seconds after mixing ball begins to rattle. Hold your can of Rust-Oleum Universal spray paint 8-12” inches from the surface and spray in a steady, back-and-forth motion, slightly overlapping each stroke. Apply two or more light coats a few minutes apart.
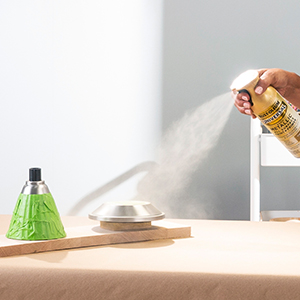
- Tape off any areas of the solar lights that you do not wish to paint. Then, following the instructions on the can, spray each light.
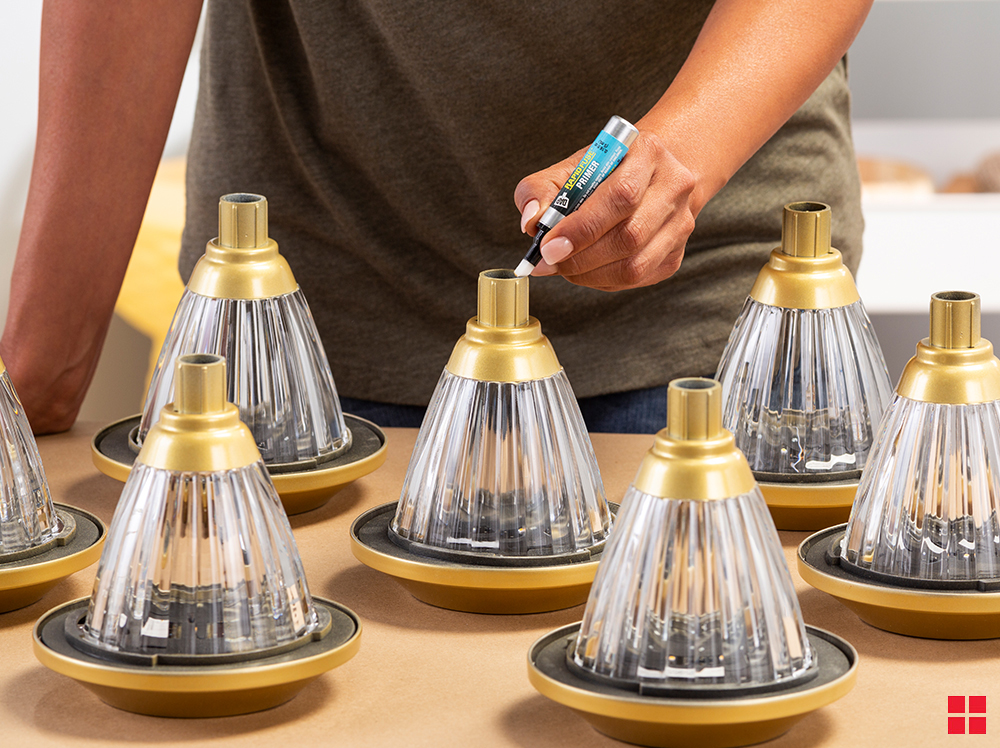
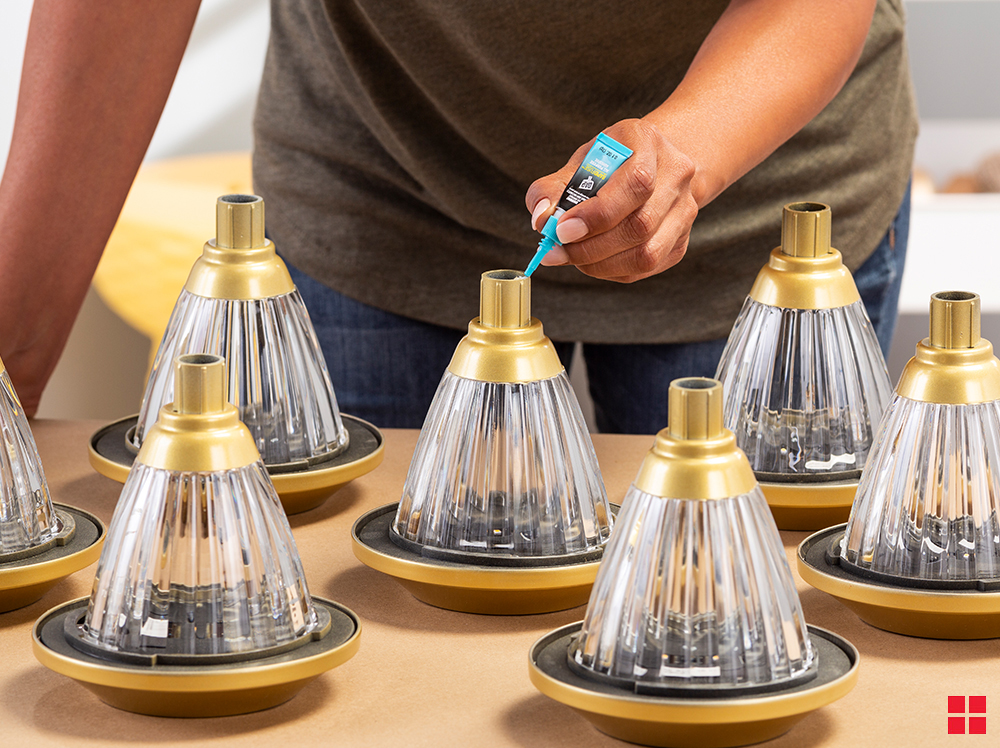
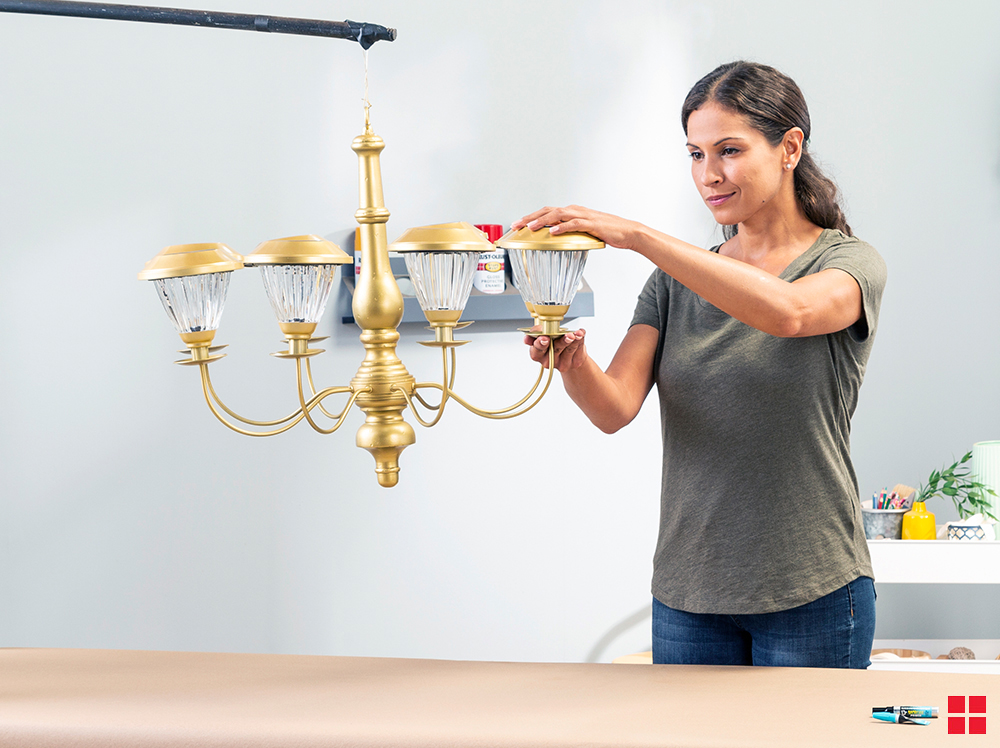
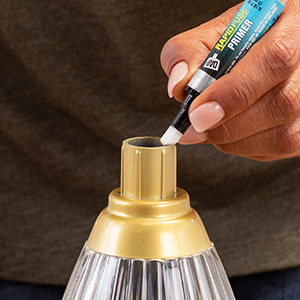
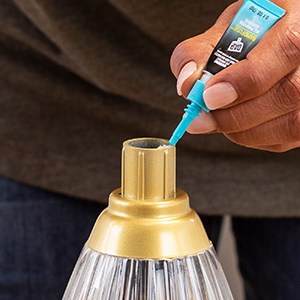
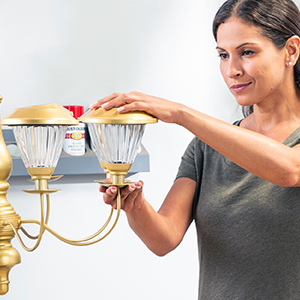
- Glue the painted solar lights to the chandelier with DAP RapidFuse. If gluing plastic surfaces, use DAP RapidFuse Plastic Primer prior to applying the glue.
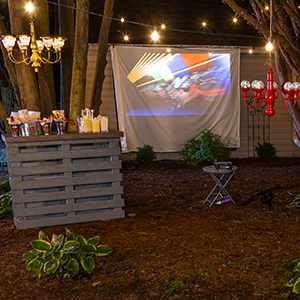
- Hang your completed solar chandelier and let it illuminate your patio.